The Irresistible Allure of Classic No-Bake Peanut Butter Bars
There are some desserts that transcend mere sweetness, becoming woven into the fabric of family memories, holiday traditions, and joyful gatherings. Classic no-bake
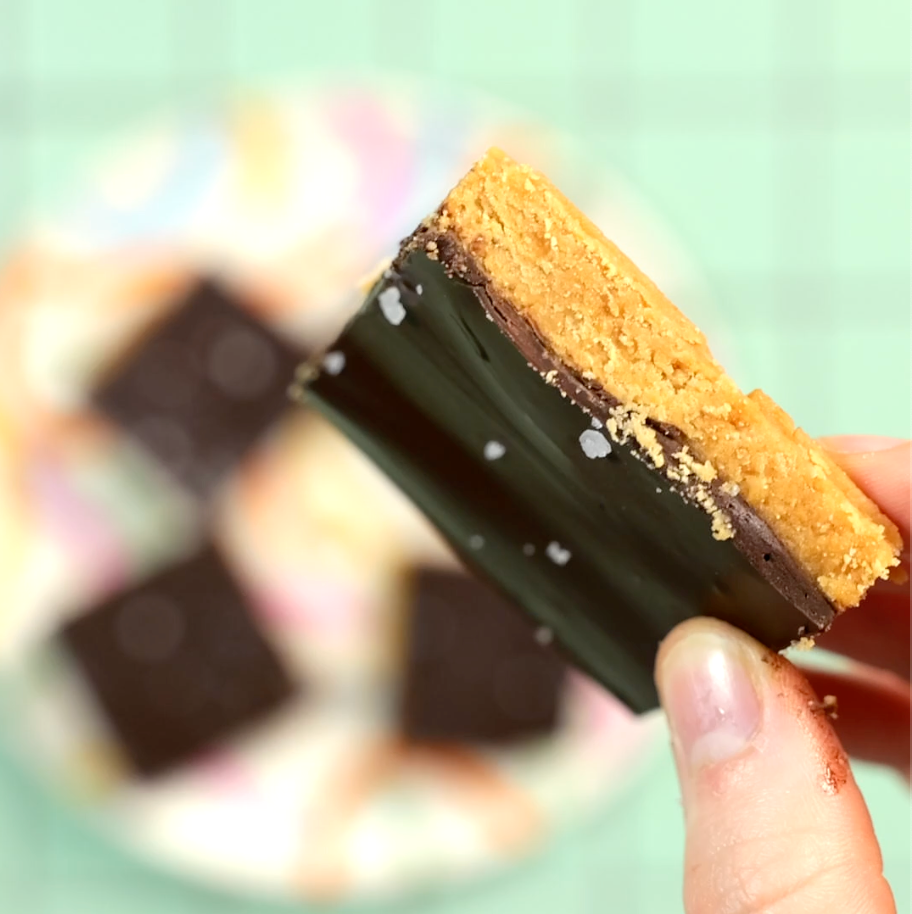
peanut butter bars are undeniably one of them. For generations, these delightfully simple yet incredibly rich treats have graced tables, potlucks, and special occasions, earning their coveted spot as a true family favorite. With a creamy, indulgent peanut butter base crowned by a smooth, decadent chocolate topping, they offer a nostalgic flavor profile that echoes the beloved taste of a peanut butter cup, but in an easy-to-share bar form.
What makes these classic
peanut butter bars so universally adored? Part of their charm lies in their effortless preparation. The "no-bake" aspect means you can create a show-stopping dessert without ever turning on your oven, making them perfect for warm weather or when you simply crave a quick, satisfying treat. It's the kind of recipe that gets passed down through generations, often remembered from childhood Christmases, birthday celebrations, or simply as a comforting presence in the fridge. They're proof that sometimes, the simplest recipes yield the most profound joy.
A Timeless Treat for Every Occasion
Whether it's a bustling holiday season, a casual weeknight craving, or a spontaneous get-together,
peanut butter bars fit seamlessly into any scenario. Their rich flavor profile makes them feel indulgent, yet their straightforward preparation keeps them accessible. Many families recount stories of these bars being the most requested dessert, even over traditional cakes or pies. It’s this consistent demand, year after year, that truly solidifies their status as a classic. From a simple snack to a sophisticated dessert plate, these bars always deliver on flavor and satisfaction.
Why No-Bake Reigns Supreme
The beauty of no-bake desserts cannot be overstated, especially when it comes to creations like these magnificent
peanut butter bars. Skipping the oven significantly reduces preparation time and simplifies the process, making it an ideal recipe for beginner bakers or busy schedules. It also means you don't heat up your kitchen, which is a huge bonus during summer months. The technique relies on the natural binding properties of butter, sugar, and peanut butter, solidified by chilling, resulting in a dense, chewy, and intensely flavorful treat. If you're looking for an even quicker version that still packs that Reese's-like punch, you might enjoy our
Easy 5-Ingredient No-Bake Peanut Butter Bars: Reese's Taste.
Crafting Perfection: The Simple Ingredients Behind Your Favorite Peanut Butter Bars
One of the most appealing aspects of these classic
peanut butter bars is their reliance on readily available pantry staples. There are no fancy, hard-to-find components here – just honest, simple ingredients that combine to create something truly magical. This simplicity is precisely why they feel so comforting and familiar, a taste of home in every bite.
Essential Pantry Staples for Unforgettable Flavor
To embark on your journey to homemade
peanut butter bars, you'll need just a handful of key ingredients:
*
Graham Cracker Crumbs: These form the foundational crust, providing a subtly sweet and slightly sandy texture that perfectly complements the peanut butter.
*
Confectioners' Sugar (Powdered Sugar): Essential for both sweetness and structure in the base, it helps create that dense, fudge-like consistency.
*
Butter (or Margarine): The binding agent that brings the base together, adding richness and moisture.
*
Creamy Peanut Butter: The star of the show! Providing the iconic flavor and a wonderfully smooth texture.
*
Semisweet Chocolate Chips: For the irresistible topping, offering a balanced sweetness and a satisfying snap.
*
Additional Peanut Butter (for topping): A little extra peanut butter mixed with the chocolate creates a smoother ganache-like topping that prevents cracking and enhances the overall flavor.
Ingredient Spotlight: Tips for Best Results
While the ingredients are simple, a few considerations can elevate your
peanut butter bars from great to absolutely unforgettable:
*
Peanut Butter Choice: For the classic, dense texture, stick to conventional creamy peanut butter (like Jif or Skippy) rather than natural varieties. Natural peanut butter tends to separate and can make the base too oily or crumbly.
*
Butter Quality: Using good quality butter will significantly enhance the richness of your bars. Ensure it's fully melted before combining with other ingredients.
*
Chocolate Selection: Semisweet chocolate chips are ideal for the topping as they provide a lovely contrast to the sweet peanut butter base without being overly sugary. You can experiment with milk chocolate for a sweeter profile or dark chocolate for a more intense flavor.
*
Graham Cracker Crumbs: If you don't have pre-crushed crumbs, simply process whole graham crackers in a food processor until finely ground.
Step-by-Step Guide to Your No-Bake Peanut Butter Bars Masterpiece
Creating these delicious
peanut butter bars is a gratifying process that requires minimal effort but promises maximum reward. Precision in a few key steps will ensure your bars are perfectly layered and textured every time.
The Creamy Peanut Butter Base
The foundation of your bars is a rich, dense peanut butter mixture that will have you sneaking bites before it's even set!
1.
Gather and Prepare: Start by assembling all your ingredients to ensure a smooth process. You'll need a 9x13-inch pan, ungreased.
2.
Combine Dry Ingredients: In a large mixing bowl, thoroughly combine the graham cracker crumbs and confectioners' sugar. This ensures an even distribution of sweetness and bulk.
3.
Add Wet Ingredients: Pour the melted butter and 1 cup of creamy peanut butter into the dry mixture. Mix well with a spoon or spatula until everything is completely blended and a thick, uniform dough forms. It should be moist enough to hold together when pressed.
4.
Press into Pan: Transfer the mixture to your prepared 9x13-inch pan. Using your hands, the back of a spoon, or a flat-bottomed glass, press the mixture down firmly and evenly into the bottom of the pan. The goal is a compact, consistent layer that will hold its shape. Even pressure is key for a sturdy base.
The Silky Smooth Chocolate Topping
The glossy chocolate topping is the perfect complement to the rich peanut butter, adding a layer of decadent flavor and a beautiful finish. If you're eager for more chocolate-peanut butter goodness, check out our
Quick & Creamy Peanut Butter Bars with Chocolate Topping for variations!
1.
Melt Chocolate and Peanut Butter: In a microwave-safe bowl, combine the semisweet chocolate chips and the remaining 4 tablespoons of peanut butter.
2.
Microwave with Care: Microwave on high in 15-second intervals, stirring vigorously after each interval. Continue until the mixture is completely smooth and glossy. Be careful not to overheat the chocolate, as this can cause it to seize. Alternatively, you can use a double boiler method for a more controlled melt.
3.
Spread Evenly: Once smooth, pour the melted chocolate mixture over the pressed peanut butter base in the pan. Use an offset spatula or the back of a spoon to spread it out into an even layer, ensuring it covers the entire surface.
The Art of Chilling and Cutting
Patience is a virtue, especially when it comes to setting these bars. Proper chilling is crucial for achieving that firm, sliceable texture.
1.
Refrigerate: Place the pan in the refrigerator for at least 1 hour. For best results and easier cutting, chilling for 2-3 hours or even overnight is ideal. This allows both the peanut butter base and the chocolate topping to set completely.
2.
Cut into Squares: Once fully chilled, remove the pan from the refrigerator. For clean cuts, use a sharp knife and wipe the blade clean between each slice, especially after the first few. You can cut them into traditional 12 squares or smaller bites for a party.
Tips, Tricks, and Variations for Your Ultimate Peanut Butter Bars
While the classic recipe is perfect on its own, there are always ways to fine-tune your technique and customize your
peanut butter bars to suit your preferences.
Achieving Scott-Level Perfection: Pro Tips
The anecdote of "Scott making them better" is relatable to anyone who has a family member with a knack for perfecting simple recipes. The secret to consistently perfect
peanut butter bars often lies in attention to detail:
*
Even Pressure is Key: When pressing the base, ensure it's uniformly compressed across the pan. This prevents crumbling and ensures a consistent texture in every bite.
*
Don't Rush the Chill: Resist the temptation to cut the bars before they're fully set. A well-chilled bar will hold its shape beautifully and slice cleanly.
*
Quality Ingredients: While simple, the quality of your peanut butter and chocolate can make a noticeable difference in the final taste.
*
Temperature Matters: Ensure your melted butter isn't too hot when adding it to the dry ingredients, and take care when melting your chocolate to avoid burning or seizing.
Customizing Your Classic Treat
Feel free to get creative with your
peanut butter bars!
*
Chocolate Variations: Experiment with dark chocolate for a richer topping, or swirl in some white chocolate for an artistic flair.
*
Nutty Additions: For a textural contrast, sprinkle chopped peanuts, pecans, or even mini chocolate chips over the still-wet chocolate topping before chilling.
*
A Touch of Salt: A sprinkle of flaky sea salt on top of the chocolate layer just before it sets enhances the chocolate and peanut butter flavors beautifully.
*
Different Crumb Bases: While graham crackers are classic, you could also try vanilla wafers or digestive biscuits for a slightly different flavor profile.
*
Extracts: A teaspoon of vanilla extract added to the peanut butter base can deepen the flavor.
Storing Your Delicious Creation
Proper storage ensures your
peanut butter bars remain fresh and delicious for as long as possible.
*
Refrigeration: Store leftover bars in an airtight container in the refrigerator for up to one week.
*
Freezing: For longer storage, freeze the cut bars in a single layer on a baking sheet until firm, then transfer them to an airtight freezer-safe container or bag for up to two months. Thaw in the refrigerator before serving.
Your Family's Next Favorite Treat Awaits!
There's a special kind of magic in a dessert that brings smiles to faces and sparks fond memories. Classic no-bake
peanut butter bars embody this perfectly. Their ease of preparation, combined with their irresistible flavor and delightful texture, makes them an enduring favorite for families everywhere. Whether you're making them for a special occasion or simply to satisfy a craving, these bars are a guaranteed crowd-pleaser that will be requested time and time again. So go ahead, gather your ingredients, and create a batch of these timeless treats – your taste buds, and your loved ones, will thank you!